How to Prototype a Product Idea in 5 Steps: From Concept to Functional Part
Reading contents:
Step 1: Concept Sketching & Form Exploration
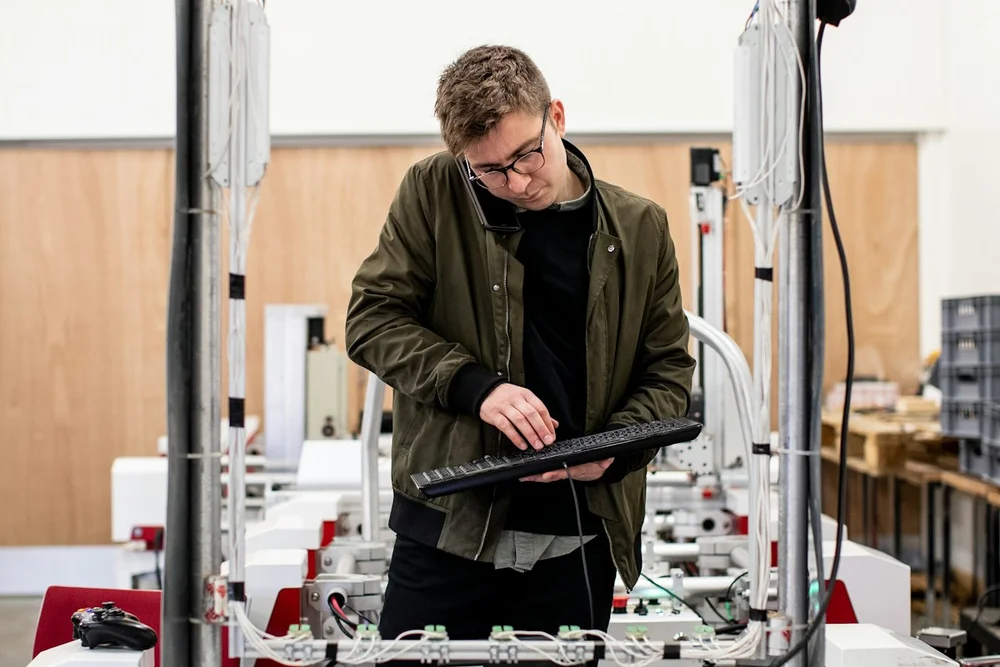
Every successful product begins with defined constraints: Who uses it? Where does it live? What forces will it endure? Before opening CAD software, sketch 10–20 quick variations exploring volume, grip ergonomics, parting lines, and visual proportion.
At Sculptex, our industrial designers collaborate with you to evaluate design feasibility early, avoiding complex geometry that adds unnecessary tooling costs later.
Step 2: 3D CAD Modeling & Design for Additive Manufacturing (DfAM)
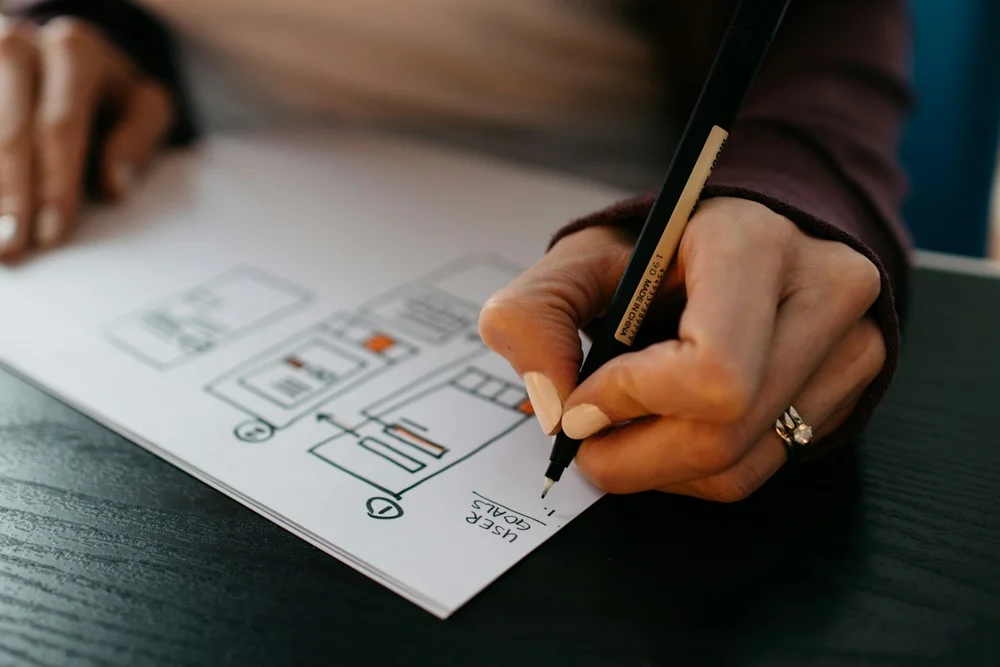
Once the concept is selected, we develop parametric 3D CAD models in SolidWorks or Rhino. Unlike generic 3D printing services, we design specifically for manufacturing constraints:
We integrate draft angles, optimal wall thicknesses (typically 2.0 to 3.5 mm for rigid enclosures), rib reinforcements, and snap-fit tolerances (0.2 to 0.35 mm clearance). Designing with manufacturing in mind guarantees that your 3D printed prototype transitions seamlessly to injection molding when you scale.
Step 3: Low-Cost Ergonomic Mockups (Looks-Like Prototype)
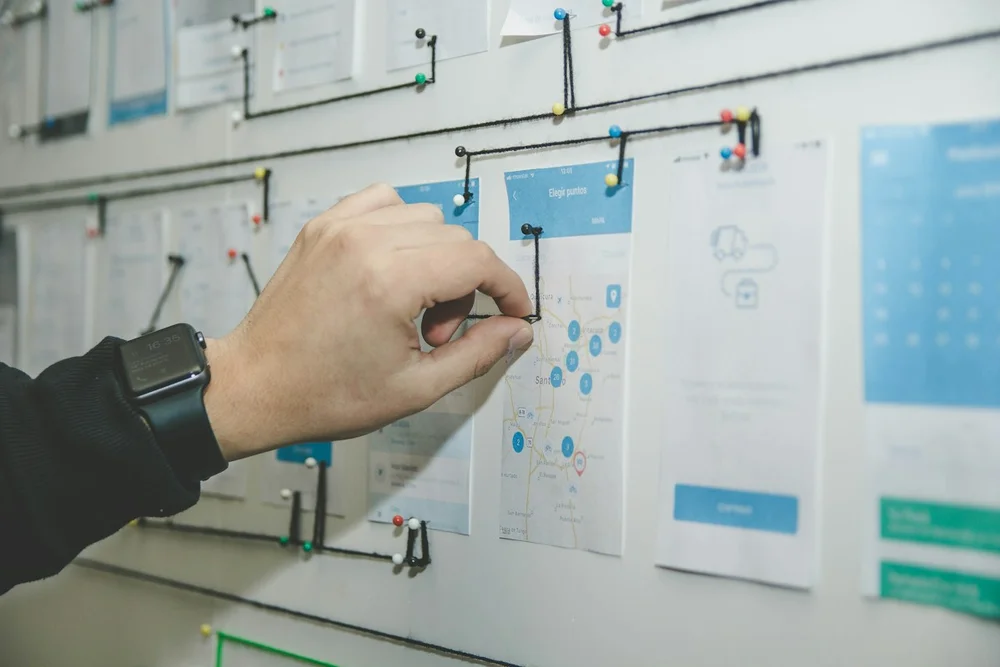
Do not jump straight to expensive multi-axis CNC or metal fabrication. First, 3D print a 1:1 scale visual prototype in rapid PLA or PETG to evaluate size in the hand, button reach, and aesthetic presence.
This rapid mock-up stage typically costs a few hundred rupees and catches 80% of ergonomic oversights before you invest in expensive materials or PCB integration.
Step 4: Functional Prototyping & Material Validation (Works-Like Prototype)
Now the prototype must work under operational conditions. If it will be dropped, exposed to sunlight, or touch chemicals, we select production-grade thermoplastics:
As outlined in our PETG vs ASA vs ABS comparison guide, we use ASA for outdoor durability, ABS for heat-resistant painted enclosures, and Carbon Fiber composites for structural loads. We assemble threaded brass inserts, fasteners, and internal electronics to validate full functionality.
Step 5: Pre-Production Pilot & Low-Volume Batch
Before spending ₹5 to ₹20 Lakhs on hard steel injection tooling, produce a pilot batch of 20 to 100 units via industrial 3D printing. This allows hardware startups to run field testing, secure early customer pre-orders, and refine design tolerances with zero tooling risk.
Sculptex provides on-demand batch manufacturing with custom textured finishes, serial numbering, and fast delivery across India under strict Non-Disclosure Agreements (NDA).
Frequently Asked Questions
How much does it cost to prototype a physical product?+
Initial 3D printed ergonomic mockups cost between ₹800 to ₹3,500 depending on part volume. Full functional prototypes with industrial CAD optimization, engineering materials, and threaded inserts typically range from ₹5,000 to ₹25,000.
How long does the 5-step prototyping process take at Sculptex?+
From CAD submission to functional 3D printed prototype in your hands, turnaround is typically 48 to 72 hours for standard parts. Comprehensive projects involving concept sketching and CAD iteration take 1 to 2 weeks.
Do you protect my intellectual property during prototyping?+
Absolutely. All project files, CAD data, and communications are safeguarded under signed Non-Disclosure Agreements (NDAs) with private, secure local storage.
Related Topics & Keywords